
It's the Simple Things
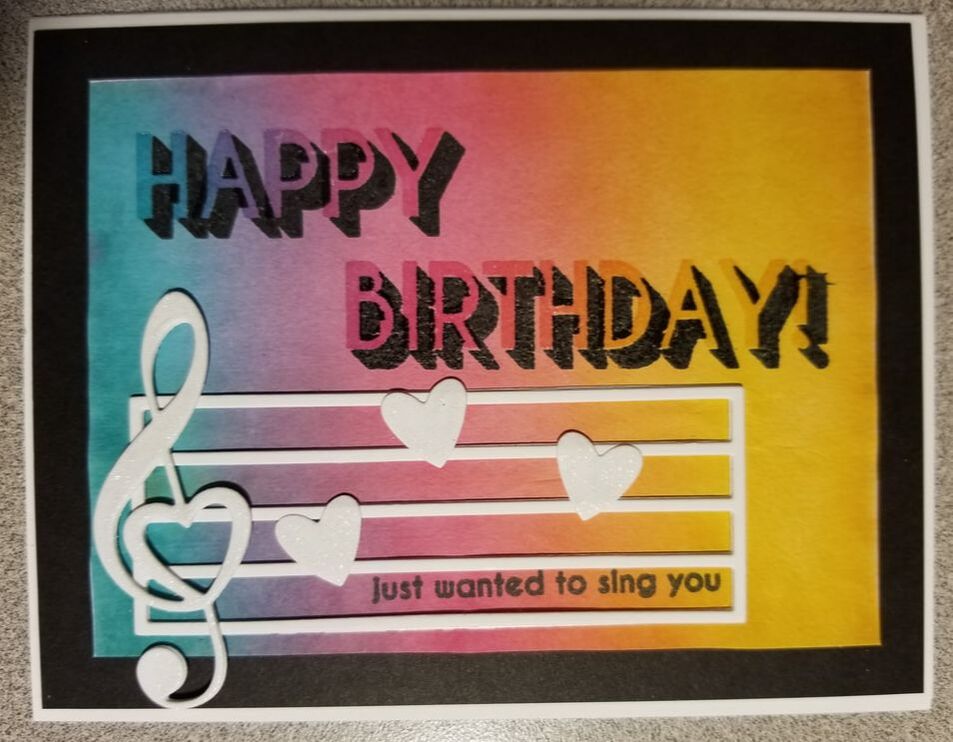
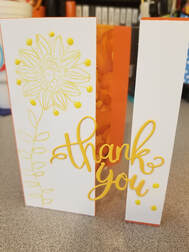
I love trying out new techniques, and my favorite place to learn new skills is from Jennifer McGuire on her blog. She always has new ideas and cool techniques. This technique is faux mono print, and well...it didn't go so well. I messed up a lot of paper, but was finally able to get these two backgrounds to come out (enough to use them anyway). I created a rainbow background using my distress inks, using three colors and overlapping them to create the the orange & purple colors. Then, continued to follow the technique (you really need to watch the video to get a good explanation, it is linked above), used water and placed a clean sheet of card stock on the top, and ran it through my die cutting matching. I think I either need to use a thicker card stock than I did, or less ink, or less water. Anyway, it was a bit of a mess, but I do love how this attempt came out. I also like that you get two cards backgrounds from the technique. I used the newer Altenew Happy Birthday to You stamp set and the Treble Love Die set to finish up the card. The stamp set has this really great two step Happy Birthday word, which I stamped the base set in black, then clear heat embossed the top layer, which allows the background color to show. I then used a glitter pen to trace over the heart (notes) and the treble clef. I like how they came out, and think someone will love to receive them.

5 Comments
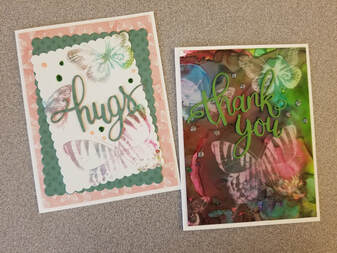
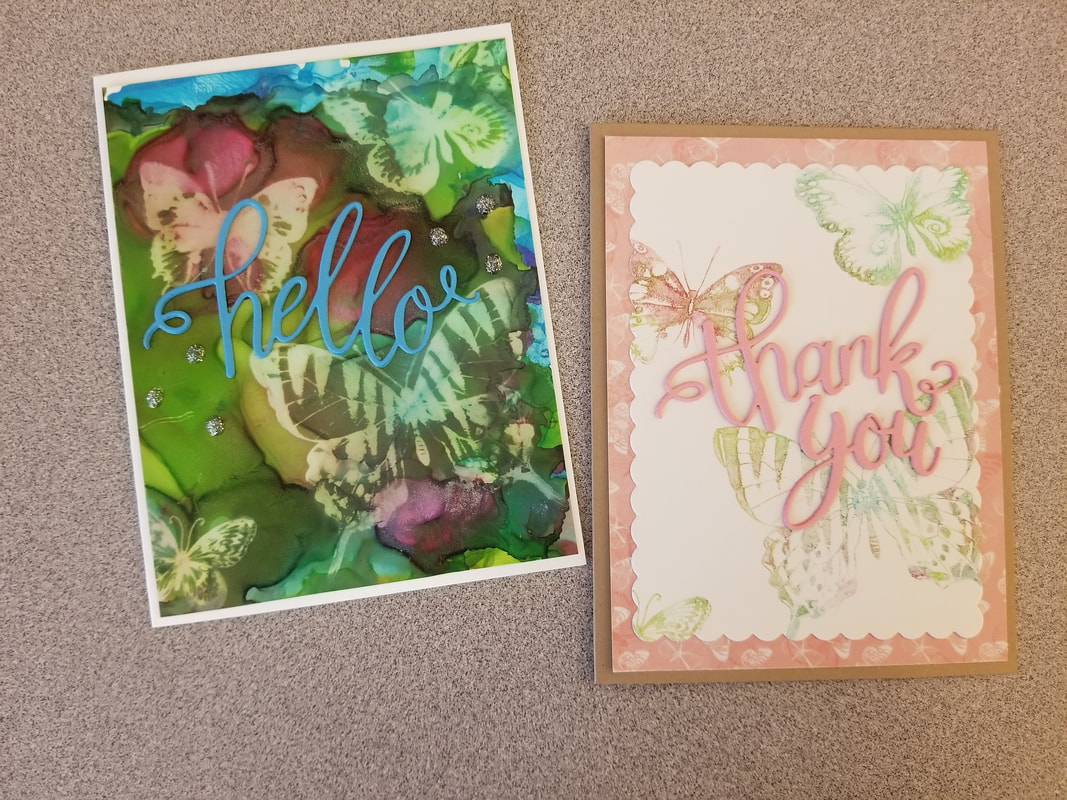
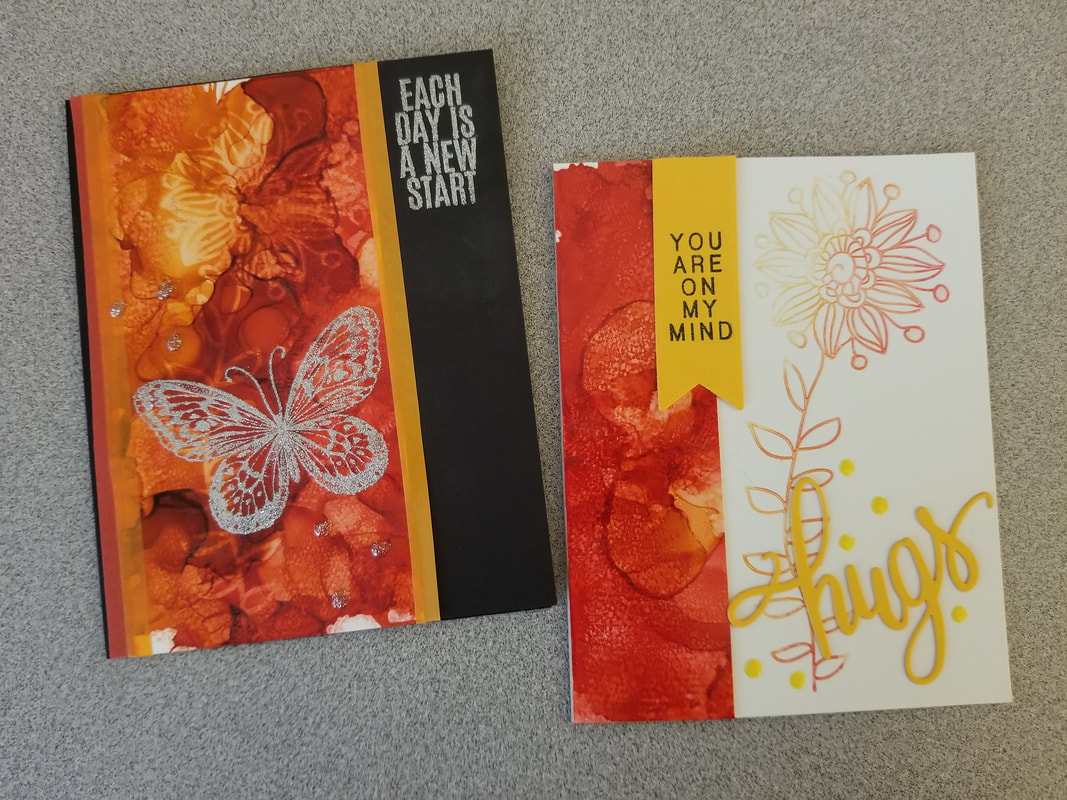
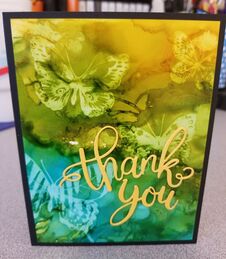 I love the Simon Says Stamps monthly kits. They always have great products and new items for me to play with. Their team also does a wonderful job making videos and sharing new techniques. When I saw this alcohol lift ink video by Nichol Spohr on the Simon blog using the newest kit, I could not wait for my kit to come in so I could try this. I am so in love with these cards. I combined the Simon Beautiful Butterflies kit (June 2018) with an older My Monthly Hero kit (MMH - March 2018) by Hero Arts. 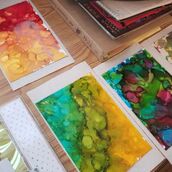 I first made the backgrounds, and did the lift technique using a alcohol ink lift pad and the Beautiful Butterfly stamp set. Once they dried, I used the inked backgrounds and the transfer backgrounds to make a bunch of cards. I used the word dies from the My Monthly Hero Kit. I am not sure why I have not used these word dies until now, they are wonderful.
Blog Update: (July 5, 2020) My cards were selected as Top 3 in two different challenges. I always appreciate it when others like the cards I make.
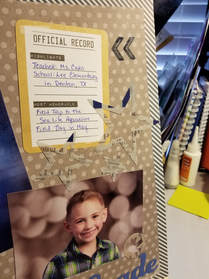
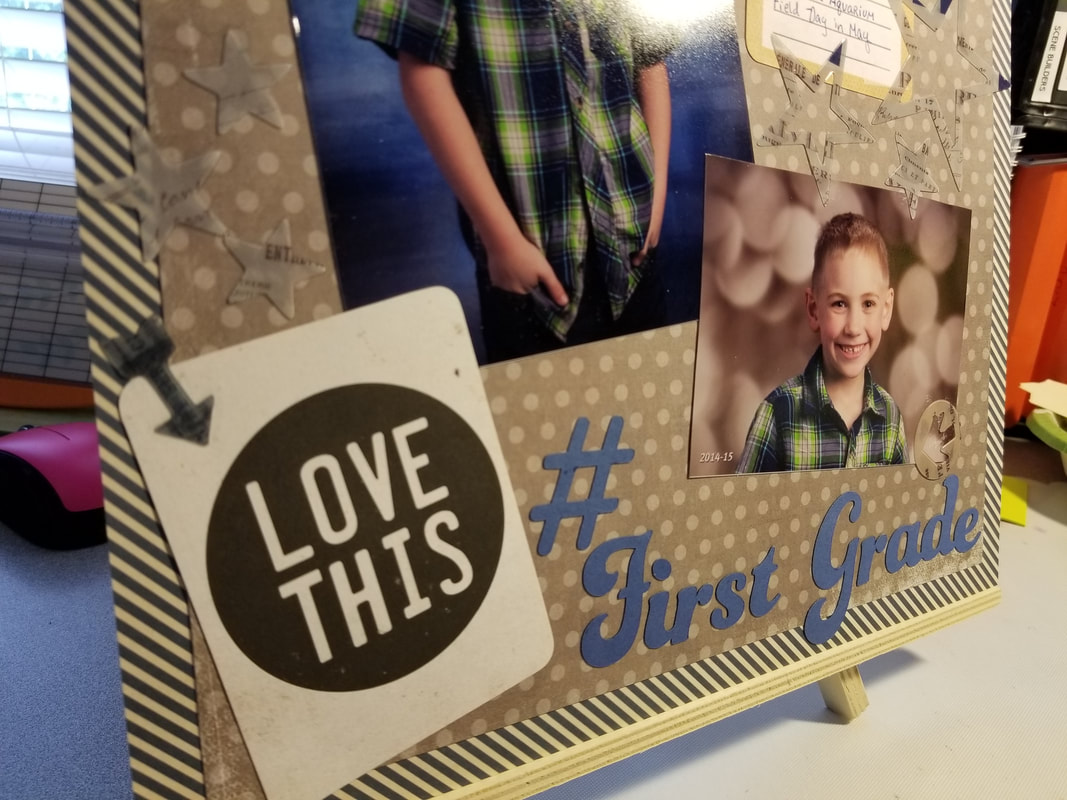
 3 The good thing about having so much free time lately is that I have been able to spend that time doing things that I love to do. I have been doing a lot of family history research and have spent a lot of time in my craft room; catching up on my scrapbooking and restocking my stash of handmade cards. I completed this page to put in my 2014 scrapbook album, and the purpose of the page is to document the completion of my son's 1st grade year. At the time we lived in Denton, Texas. He was so small and super cute. I find it hard to believe that now he is 10 and about to be finished with the 4th grade. I have always loved stars and they tend to be a reoccurring theme in all my scrapbooks. On this layout, I wanted the focus to be on the pictures of my son, so I picked a more neutral, tan and cream base with white and navy blue accents to match the background in the pictures. I love how it turned out! Materials Used: Stars and arrows - Heidi Swapp (They are on a thick acetate, and a little hard to see in the pictures, but really fun in person) Journaling Cards - Captured Moments collection by KaiserCraft Cricut - Type Candy Font Challenges Entered: Lasting Memories Pause Dream Enjoy Blog Update: May 6, 2018 - I was chosen as a Top 3 Pick for this layout on the Pause Dream Enjoy Site! 
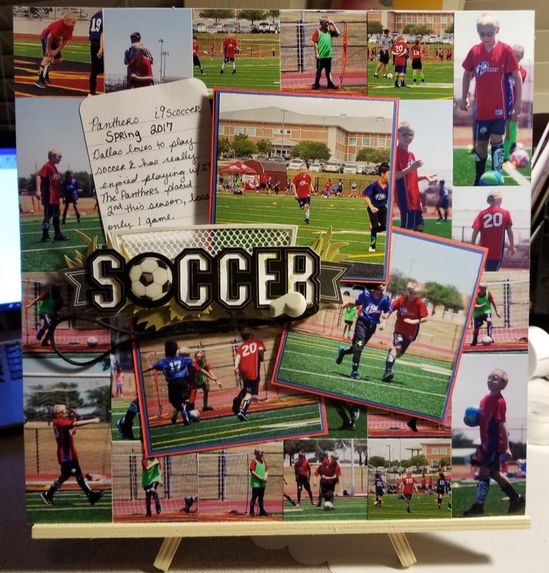
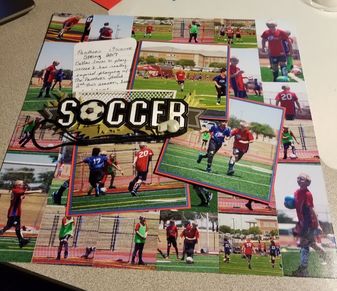
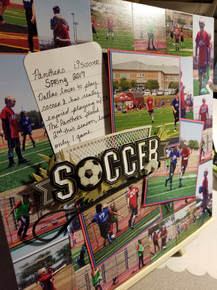
I had so many pictures of my son playing soccer this season, and I loved all of them. So, in an attempt to use as many pictures as possible, I made my own background paper using the pictures. I admit that it makes the layout a bit busy, but that is kind of what a soccer game is like; always something going on and something to look at.
I picked my favorite 3 pictures and double matted them, so help them to stand out from the background a bit. Then I cut down the rest of the images and attached them in a way that showed the best pictures around the outside edges of the paper. Remember when if you try this that the pictures in the center of the page will most likely be covered up. I finished the page up with a handwritten journaling card and a 3D embellishment that I purchased at Michaels. This might be one of my favorite pages in my 2017 scrapbook album. (Don't judge, I'm behind on my scrapbooking, lol). 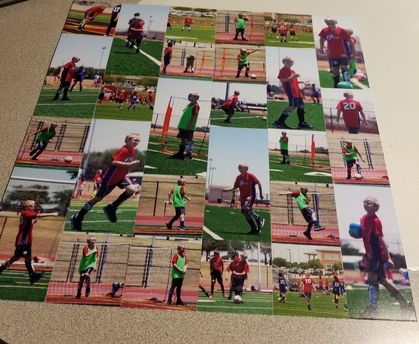
Made my own background paper using pictures.
Materials Used:
23 pictures of my son playing soccer Red and Blue cardstock from Recollections Soccer 3D sticker from Jolee's Boutique Challenges Entered: Lasting Memories a2z scrapbooking
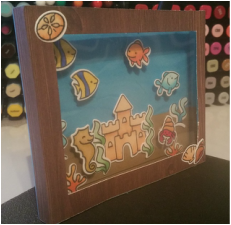
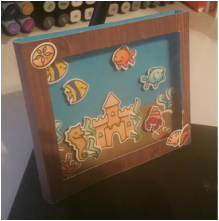
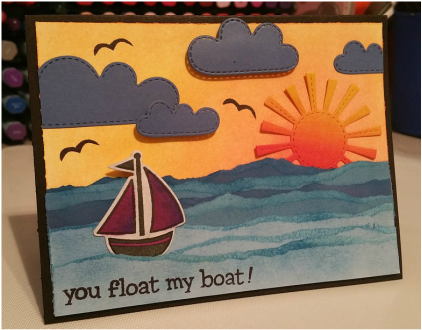
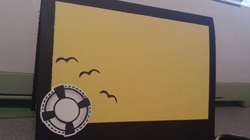
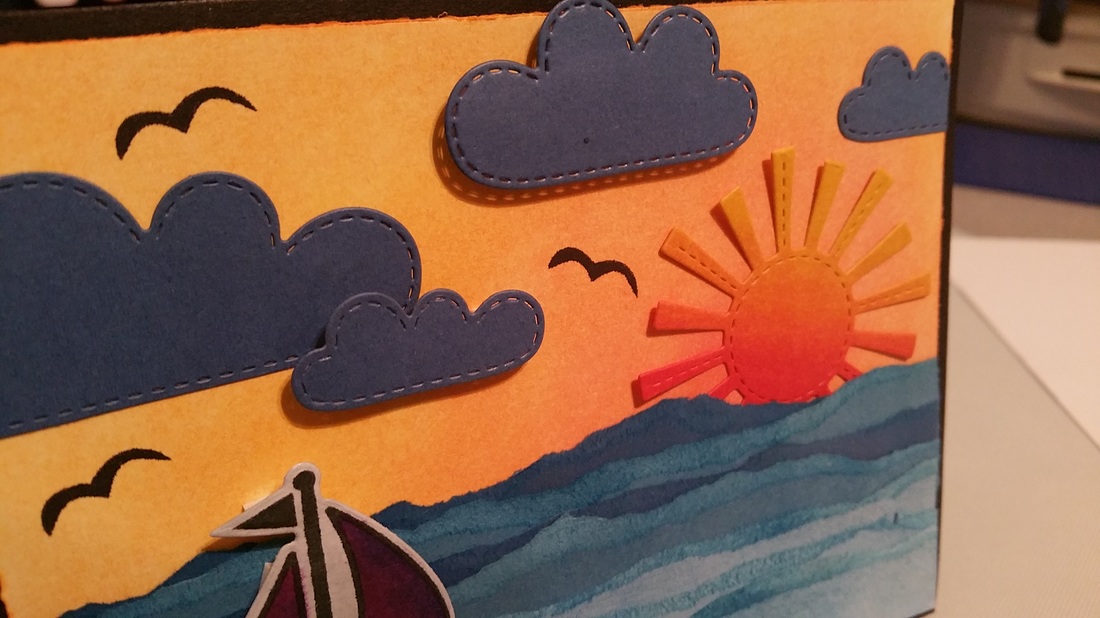
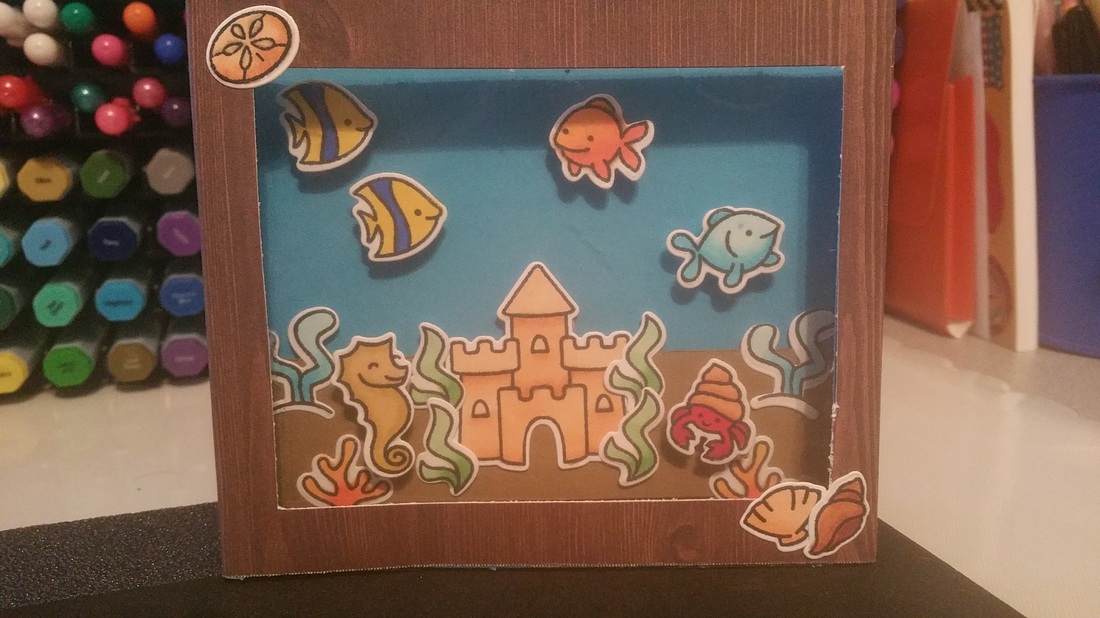 I LOVE this card so much. I wish I could take complete credit for this card, but I can't. I got the idea from someone else, a year ago (sorry, I can't remember which blog I found it on), but just now had the chance to blog about it. I used 3 different stamp sets from Lawn Fawn, some foam tape, a transparency sheet, Distress Inks, Spectrum Noir Markers, and cardstock to make this fantastic box card. To make the card, I used the same method that you would use to make a traditional box card. The difference is that I cut out the front of the box, replacing it with a transparency sheet, then used brown cardstock, to make the "middle insert" piece. Then it was as easy as stamping my little fish friends, coloring them, an setting the scene. To put the "box card" in an envelope, you just press it down, and it folds over, just like a traditional box card. I will admit, I tried to make an A2 size card at first, but all the pieces just didn't fit very well, so I increased the size. When flattened, this card fits in to a 5X7 envelope perfectly, though it does have a little bulk to it. You can see the thickness of the project, in the images below. I hope you enjoy and that this inspires you to create something fantastic!
 Blog Update: May 22, 2016
My "Best Fishes" box/aquarium card was chosen as a Party Pick on the PDE Linky Party Blog.
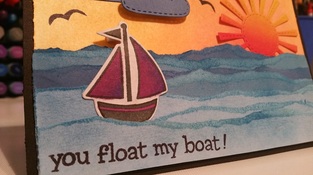 Materials Used: Lawn Fawn: Float my boat stamp & die set; Spring Showers die set Ink: Memento Tuxedo Black Spectrum Noir: PL3, LV3, IG4, CT4, CR8, DR4, Blender Chalks: Craft-T Productions Paper: Recollections Cardstock Challenges Entered: As You See It Challenges PDE Linky Party Dream Valley Challenges Aud Sentiments Challenge Blog Update - April 28, 2016
|
 
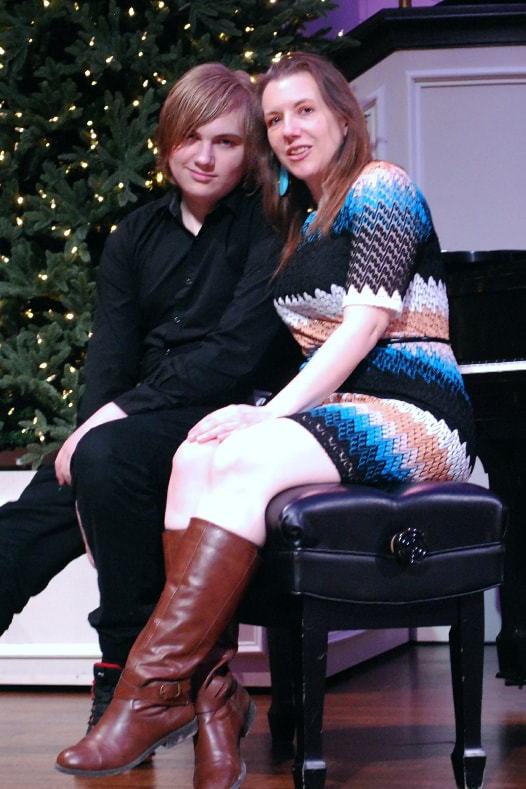
JoNeita & Dallas - Dec. 2021
About MeMy name is JoNeita Kelly and I have been crafting for at least the last 20 years. I live in Forney, Texas with my son, Dallas. I am a High School teacher and Cheerleading Coach. I love to craft and to continue to improve my photography and editing skills whenever I have free time. What I love most is telling our story using pictures, it is the most important gift I can leave my family. 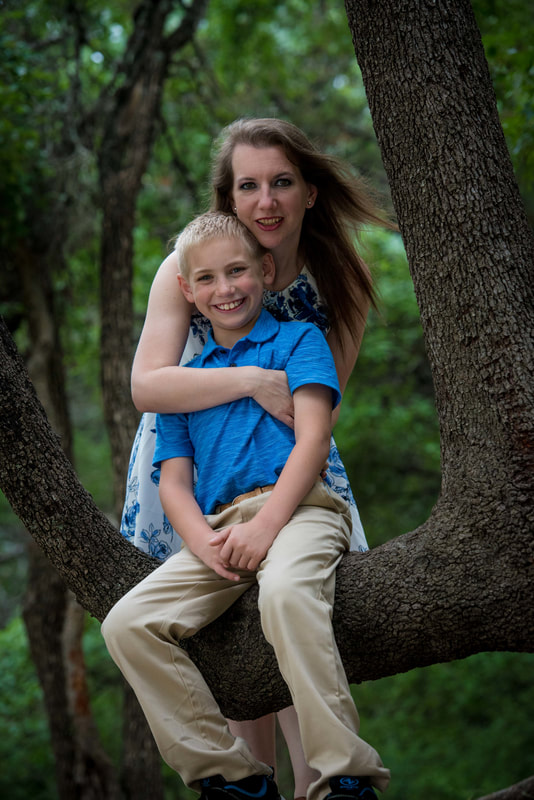
Photo by Steven Mackie Photography.
Categories
All
Archives
December 2021


Former Design Team Member for Fantabulous Cricut Challenge Blog
 |


 RSS Feed
